How to Plan for Shed Demolition and Cleanup
Sheds often start as a perfect backyard storage solution, but over time, weather damage, decay, and structural instability can make them more of a hazard than a convenience. Whether you're clearing space for a new structure or simply removing an old, unusable shed, demolition isn't something you should rush into blindly. Proper planning is key to ensuring safety, efficiency, and a seamless cleanup process. Here’s how to tackle shed demolition like a pro.
Evaluating the Shed’s Condition
Before you swing a hammer or grab a crowbar, take a close look at the shed’s condition. Some sheds can be disassembled methodically, while others are so deteriorated that they need to be torn down entirely. Inspect for mold, rot, or structural instability, as these factors will influence the best approach for demolition.
If the shed has electrical wiring, be cautious. Live wires pose a significant safety risk and should be disconnected by a professional before demolition begins. Also, check for any hazardous materials like asbestos or lead-based paint. If your shed was built decades ago, these materials might be present, requiring specialized removal techniques to ensure safety.
Gathering the Right Tools and Equipment
The demolition process will go much smoother if you have the right tools at your disposal. Common tools for shed teardown include a pry bar, claw hammer, reciprocating saw, power drill, sledgehammer, and protective gear like gloves, safety glasses, and a dust mask. If the shed is large or made of particularly sturdy materials, you may also need a circular saw or crowbar to help break it down efficiently.
Additionally, don’t forget a sturdy ladder if the shed has a roof that requires removal. For handling heavy debris, having a wheelbarrow or dumpster nearby can streamline the cleanup process and prevent excessive lifting.
Secrets to a Smooth Shed Demolition Without the Hassle
Tearing down an old shed may seem like a daunting task, but with the right approach, it doesn’t have to be a chaotic mess. Many homeowners underestimate the amount of planning and preparation needed to ensure a smooth process. From checking for structural hazards to gathering essential tools, setting the groundwork is key. Ignoring these steps can lead to unexpected dangers, costly mistakes, and unnecessary delays. Taking the time to strategize will help you tackle the project safely and efficiently.
Once demolition begins, handling debris properly is just as important as tearing down the structure itself. Many people forget about disposal logistics, leading to cluttered yards and wasted materials. Recycling shed components such as wood and metal can reduce landfill waste and even save money on new projects. Whether you opt for DIY demolition or professional assistance, staying organized from start to finish ensures a hassle-free experience.
Obtaining Permits and Checking Regulations
In some areas, you may need a permit for shed demolition. Always check with your local municipality to determine whether your project requires approval. Regulations often vary depending on the size of the shed, the method of demolition, and the proximity to property lines or other structures.
Ignoring permit requirements could result in fines or penalties, so it’s always best to clarify beforehand. If you're hiring a professional junk removal service, they may be familiar with local codes and can guide you through the process.
Prepping the Area for Demolition
Once the preliminary steps are complete, it’s time to prepare the surrounding area. Start by clearing out everything inside the shed, including tools, furniture, or miscellaneous storage items. If you’re salvaging materials, separate reusable wood, metal, or fixtures before demolition begins.
Ensure that the area around the shed is free of obstacles. Move any plants, patio furniture, or valuables to prevent accidental damage. If possible, use tarps or plywood sheets to protect nearby structures and minimize the spread of debris.
What to Do With Shed Debris After Demolition Is Complete
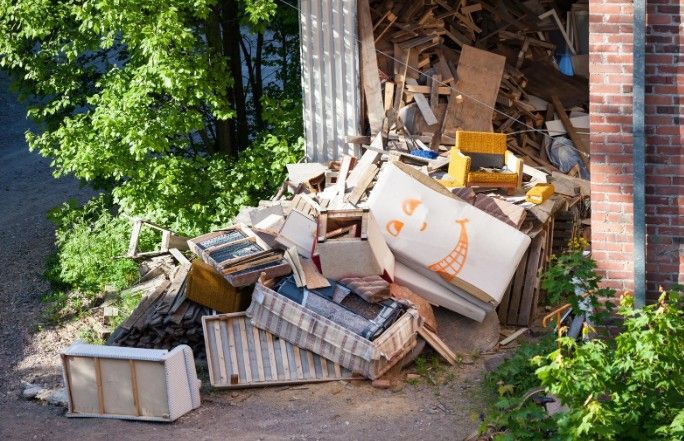
Once the shed is gone, the pile of debris left behind can be overwhelming. Many homeowners don’t consider how to handle shed remnants until the demolition is already finished, leaving them scrambling for last-minute disposal solutions. Properly sorting materials beforehand can simplify the cleanup process. Wood that is still in good condition can be reused for other DIY projects, while metal pieces can be recycled at a scrap yard.
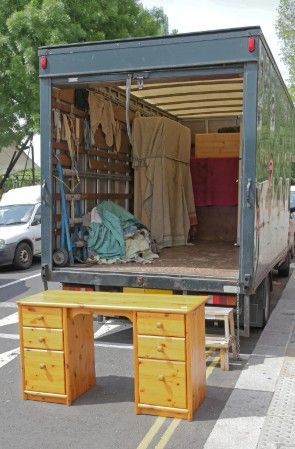
For those who don’t have time to manage debris removal themselves, hiring a junk removal service can make things much easier. Professional services ensure that waste is disposed of responsibly, often recycling as much as possible. Instead of letting the debris sit for weeks, planning disposal in advance allows you to enjoy your newly cleared space without unnecessary hassle. Proper cleanup is the final step in ensuring your shed demolition is truly complete.
Disassembling the Shed in Steps
While you might be tempted to take a sledgehammer straight to the shed, a methodical approach is safer and more manageable.
Removing the Roof
Start with the roof, as it’s crucial to the shed’s overall stability. Removing it first prevents dangerous collapses later. If the shed has shingles, carefully lift them using a pry bar to avoid damaging the underlying structure. For metal or plywood roofing, use a power drill or crowbar to detach panels systematically. Remove any remaining rafters or support beams with caution, as they can shift or collapse unexpectedly. Wearing gloves and safety goggles during this process will help protect you from falling debris or sharp edges.
Taking Down the Walls
Once the roof is gone, dismantling the walls becomes more manageable. Start by removing any trim or siding with a pry bar. If the shed is held together with screws or bolts, use a power drill to speed up the process. Work on one wall at a time, starting at the top and moving downward to prevent structural imbalance. Keep an eye on the remaining walls’ stability and step back frequently to reassess the structure. Always have a helper nearby when working on larger sections to avoid accidents.
Breaking Down the Floor
After removing the walls, the floor is the final step. If the shed is built on a concrete slab, the floor might be attached with bolts or adhesive, which you can loosen with a pry bar or chisel. For raised wooden floors, use a circular saw to cut them into smaller sections, making them easier to remove. Carefully lift and remove each section, checking for nails or screws sticking out. If beams are supporting the floor, detach them last to prevent instability. Proper cleanup afterward will help avoid injuries from sharp debris.
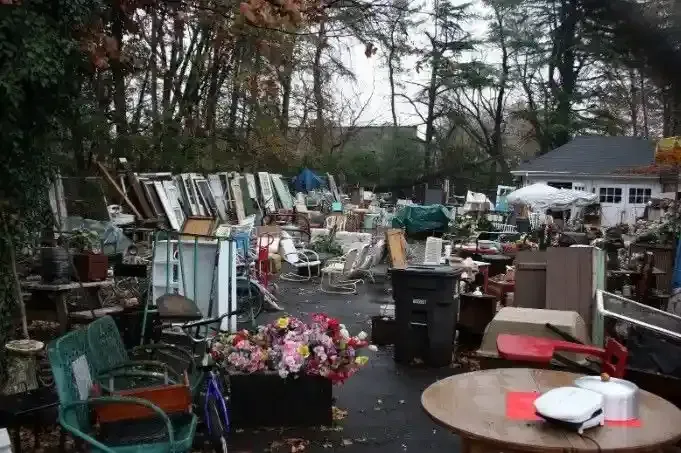
Managing Shed Debris and Cleanup
Demolition creates a significant amount of debris, and cleanup is just as crucial as the teardown itself. Separating materials as you go will make disposal easier. Wood, metal, and glass can often be recycled, reducing environmental impact. Nails and screws should be collected using a magnetic sweeper to prevent injuries.
For large amounts of debris, renting a dumpster or hiring a professional junk removal service can make the cleanup process faster and more efficient. Instead of making multiple trips to the landfill, professionals can haul everything away in one go, ensuring responsible disposal.
Recycling and Salvaging Materials
If your shed is in relatively good condition, consider salvaging some of its materials. Wooden planks can be repurposed for DIY projects, while metal parts may be recyclable at a local scrap yard. Hinges, handles, and screws can be saved for future home improvement tasks. Not only does salvaging materials help the environment, but it can also save you money on future projects.
Safety Tips to Keep in Mind
Shed demolition, while rewarding, can also be dangerous if not done correctly. Here are some key safety precautions:
- Wear protective gear, including gloves, safety glasses, and steel-toed boots.
- Work in pairs or have someone nearby in case of an emergency.
- Be mindful of structural instability, especially when removing walls and the roof.
- Use tools correctly and follow all manufacturer guidelines.
- Dispose of materials responsibly, avoiding hazardous waste violations.
When to Hire Professionals
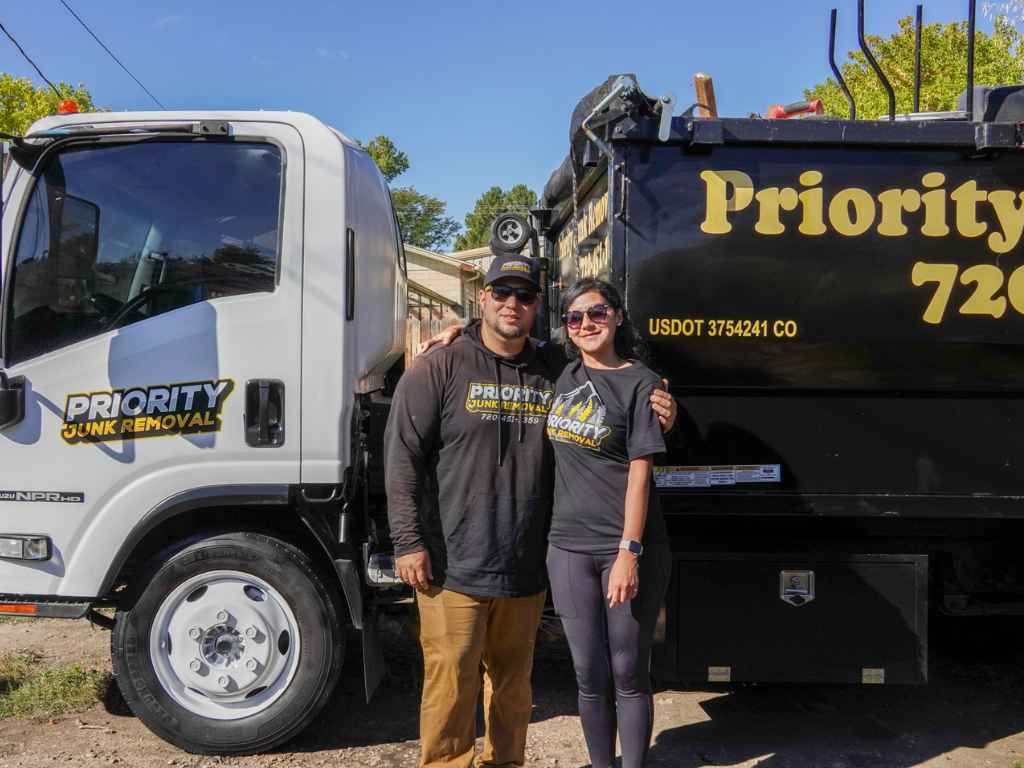
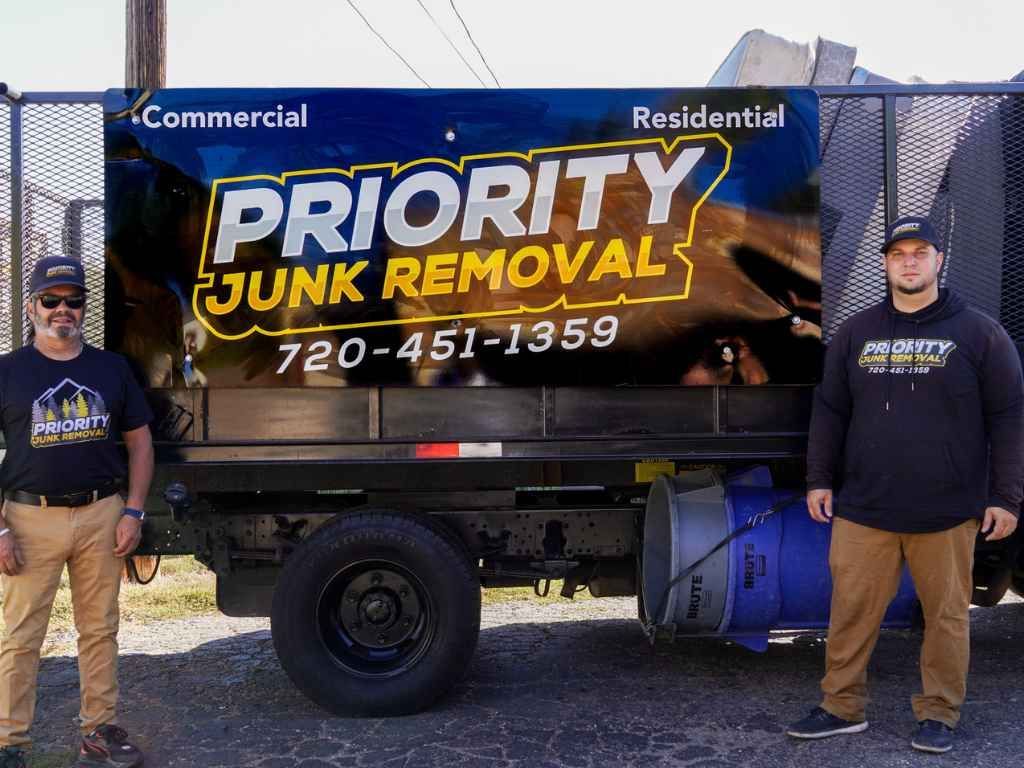
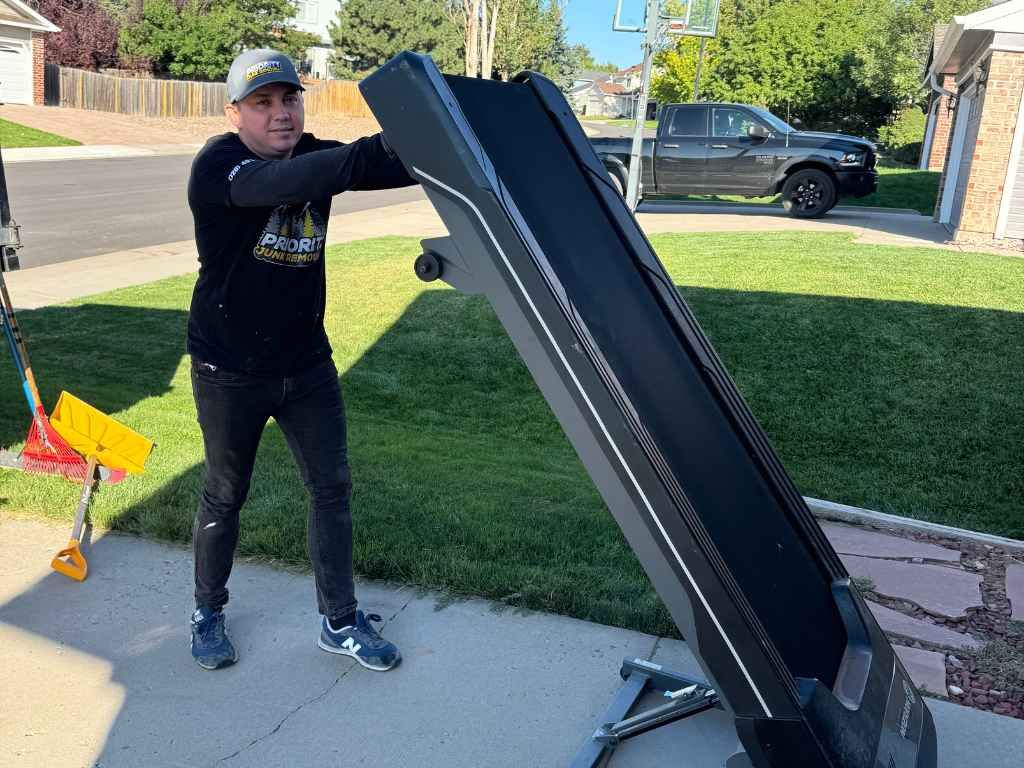
If your shed is large, built with complex materials, or contains hazardous elements, hiring a professional demolition and junk removal service may be the safest choice. Trained professionals have the equipment and expertise to handle heavy debris, ensuring that everything is removed quickly and safely.
A professional junk removal company can also save you time by handling the entire cleanup process, including hauling away materials and disposing of them according to local regulations. This is particularly beneficial if you have limited time, resources, or physical ability to complete the project on your own.
Conclusion
Demolishing a shed requires careful planning, from assessing its condition to handling the cleanup efficiently. Whether you choose to do it yourself or enlist professional help, taking the right precautions will ensure a smooth process. If you’re looking for expert assistance with shed demolition and debris removal, Priority Junk Removal is ready to help. Located at 6091 South Spotswood Street, Littleton, Colorado 80120, our team specializes in safe, efficient, and eco-friendly shed demolition services. Call us at 720-451-1359 or email priorityjunkremoval@gmail.com to get started today.