How to Prepare for Bathroom Demolition
Bathroom demolition might sound like an intense project, and honestly, it can be — but with the right preparation, you can make the process smooth and stress-free. Whether you're gearing up for a complete bathroom remodel or just removing outdated fixtures, proper planning is the key to avoiding costly mistakes and unnecessary headaches.
Think about it: bathrooms are filled with plumbing lines, electrical connections, and tightly fitted tiles — it’s not a space you want to dive into without a game plan. The last thing you need is a busted pipe flooding your home mid-demo. So, before you grab that sledgehammer, let’s walk through the essential steps to make sure you’re ready for a clean and efficient demolition.
Assess the Scope of Work
Before you start swinging that sledgehammer, you need to understand exactly what you’re dealing with. Are you taking the whole bathroom down to the studs, or are you just swapping out the sink and toilet? Knowing the full scope of work helps you plan better and avoid unpleasant surprises. Start by inspecting the current condition of your bathroom.
Are the tiles cracked? Is there water damage under the sink? Each material — tile, drywall, and plumbing fixtures — requires a different removal approach. For instance, tiles may need careful chipping, while drywall can be cut away in sections. Take notes and photos to document what you find, which can help you stay organized and communicate clearly with contractors if you decide to bring in professional help.
Create a Clear Plan and Timeline
Demolition without a solid plan is a recipe for chaos. Before you start ripping out tiles and fixtures, sit down and create a detailed step-by-step plan. Start with turning off the water and power, then outline each phase of the demolition process — from removing fixtures to hauling away debris. Factor in realistic time estimates and build in some buffer days to account for unexpected issues (because there will be some).
For example, removing a toilet might only take 30 minutes — unless you discover corroded bolts, which could double that time. A clear plan helps you stay focused and prevents you from feeling overwhelmed when things don't go as expected. Also, set up a designated area for storing tools and debris so that your workspace stays organized.
Shut Off Utilities Before You Start
This might sound obvious, but it’s one of the most critical steps — and it’s surprisingly easy to forget. Before you touch a single fixture, shut off the water supply to the bathroom. If the bathroom has separate shut-off valves, close those first; otherwise, you may need to shut off the main water line. Don’t stop there — if your demolition involves electrical fixtures or walls, turn off the electricity at the circuit breaker.
Use a circuit tester to confirm that the power is completely off before proceeding. Water and electricity are a dangerous mix, and you don’t want to find that out the hard way. Also, check for hidden pipes and wiring behind walls before cutting or hammering into them. A small mistake here can lead to flooding or electrical issues, adding time and expense to your project.
Protect the Rest of Your Home
Bathroom demolition is messy — dust, debris, and stray bits of tile can spread quickly if you’re not careful. To contain the mess, seal off the bathroom from the rest of your house using plastic sheeting and painter’s tape. Cover the floors and any nearby furniture with heavy-duty drop cloths to prevent scratches and stains. If you have a central HVAC system, turn it off or cover the vents in the bathroom to keep dust from circulating through your home.
Be mindful of doorways and walkways; placing floor protection or temporary runners can prevent damage to your hardwood or carpet. Also, keep a shop vacuum nearby to clean up dust and small debris as you work — this will make the final cleanup easier and prevent you from tracking debris through the house.
Remove Fixtures and Materials Carefully
Once you’ve prepped the site and shut off the utilities, it’s time to start removing fixtures — but take it slow. Start small with towel racks, mirrors, and light fixtures before tackling larger pieces like sinks, toilets, and bathtubs. Disconnect plumbing connections carefully to avoid damaging pipes. If you’re removing tiles or drywall, use a utility knife to score around the edges — this creates a cleaner break and prevents unnecessary damage to the underlying structure.
For heavier pieces like bathtubs or vanities, have a plan for lifting and moving them safely — you don’t want to strain your back or damage the floor on the way out. Be patient and methodical. Rushing through this step can lead to cracked pipes, broken tiles, and structural damage, which could complicate your renovation and increase costs.
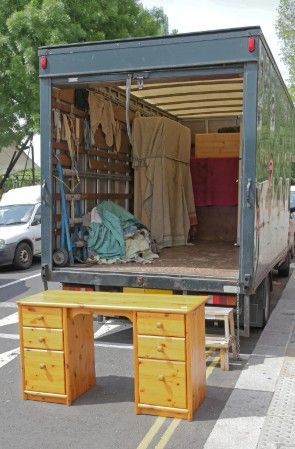
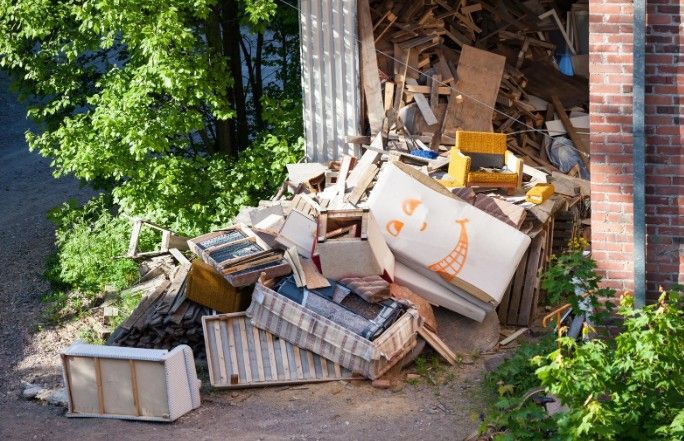
Handle Debris Removal Responsibly
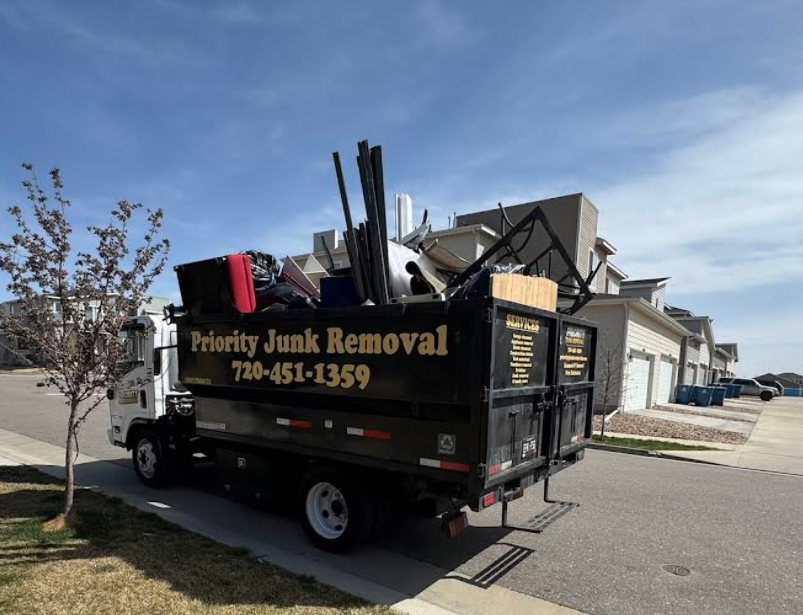
Bathroom demolition produces a surprising amount of waste — broken tiles, drywall chunks, plumbing fixtures, and old cabinets can pile up quickly. Letting debris sit around not only creates a safety hazard but also slows down your progress. Create a system for debris removal before you start. For smaller projects, you might be able to haul the debris away yourself, but for larger jobs, consider renting a dumpster or calling a professional junk removal service.
They’ll handle the heavy lifting and ensure that materials are disposed of properly, which can save you multiple trips to the dump. Also, look into local recycling programs — many materials like metal fixtures, porcelain, and certain types of tile can be recycled.
Clean Up and Prepare for Renovation
Once the demolition is done, don’t rush into the next phase without cleaning up first. A clean workspace is essential for a smooth remodeling process. Start by removing any leftover debris, screws, and nails. Vacuum the floor and wipe down any surfaces to eliminate dust and dirt. Pay close attention to corners and crevices where debris tends to collect.
If there’s moisture left behind from the demo, use a fan or dehumidifier to dry out the space completely — moisture can cause mold and other issues if left unchecked. Double-check that all plumbing and electrical connections are intact and properly capped. A clean and well-prepped space makes it easier for contractors to install new materials and fixtures.
What We Offer
Full Bathroom Demolition Services
We specialize in full-scale bathroom demolition, taking care of everything from fixture removal to tile and drywall teardown. Our experienced team knows how to work efficiently while protecting your home from unnecessary damage. We handle all the heavy lifting and ensure that debris is removed promptly, leaving you with a clean slate for your renovation project.
Partial Bathroom Demolition
Sometimes you don’t need to gut the whole bathroom — maybe you just want to replace the vanity or upgrade the flooring. Our partial demolition services focus on targeted removal, preserving the elements you want to keep while clearing out the outdated ones. We work carefully to minimize dust and debris during the process.
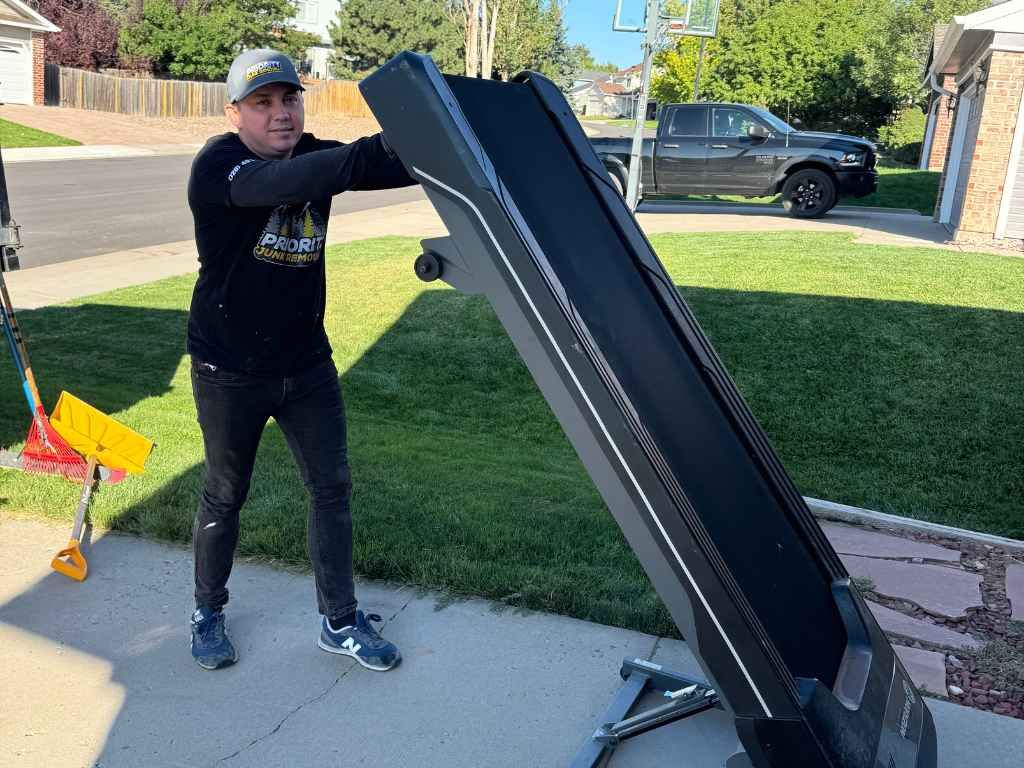
Fixture and Plumbing Removal
Removing sinks, toilets, and bathtubs requires precision and care. Our team knows how to disconnect plumbing lines without causing leaks or damage. We’ll carefully remove fixtures and ensure that all water and drain lines are secure, so your renovation starts on the right foot.
Tile and Drywall Removal
Removing tiles and drywall can be tricky — one wrong move and you could damage the underlying structure. We use specialized tools and techniques to remove these materials cleanly and efficiently, reducing the risk of costly repairs. Our team handles all debris removal, so you don’t have to lift a finger.
Debris Hauling and Disposal
Bathroom demolition creates a surprising amount of debris. From broken tiles to old drywall, we’ll handle all the cleanup and disposal for you. We prioritize responsible disposal, recycling materials where possible to reduce waste and minimize environmental impact.
Benefits
- Stress-Free Demolition Process: Bathroom demolition can be overwhelming, but with our expert team handling the process, you can relax. We manage every step from start to finish, ensuring a smooth and organized demolition that sets the stage for your renovation. No surprises, no stress — just results.
- Professional Expertise: Our team brings years of experience to the table. We know how to remove fixtures and materials without damaging the underlying structure. You can trust that your bathroom will be ready for renovation without the risk of hidden issues or costly repairs.
- Fast and Efficient Service: Time is money — especially during a renovation. Our demolition team works quickly and efficiently to keep your project on schedule. We handle debris removal promptly, so you’re not left with a construction site in your home.
- Minimized Damage and Mess: Demolition is messy by nature, but we take extra steps to minimize dust and debris. We seal off the area, protect your floors and walls, and clean up thoroughly when we’re done. Your home stays protected while we work.
- Eco-Friendly Disposal: We believe in responsible waste management. After demolition, we sort materials and prioritize recycling wherever possible. Our eco-friendly approach helps reduce landfill waste and supports a more sustainable future.
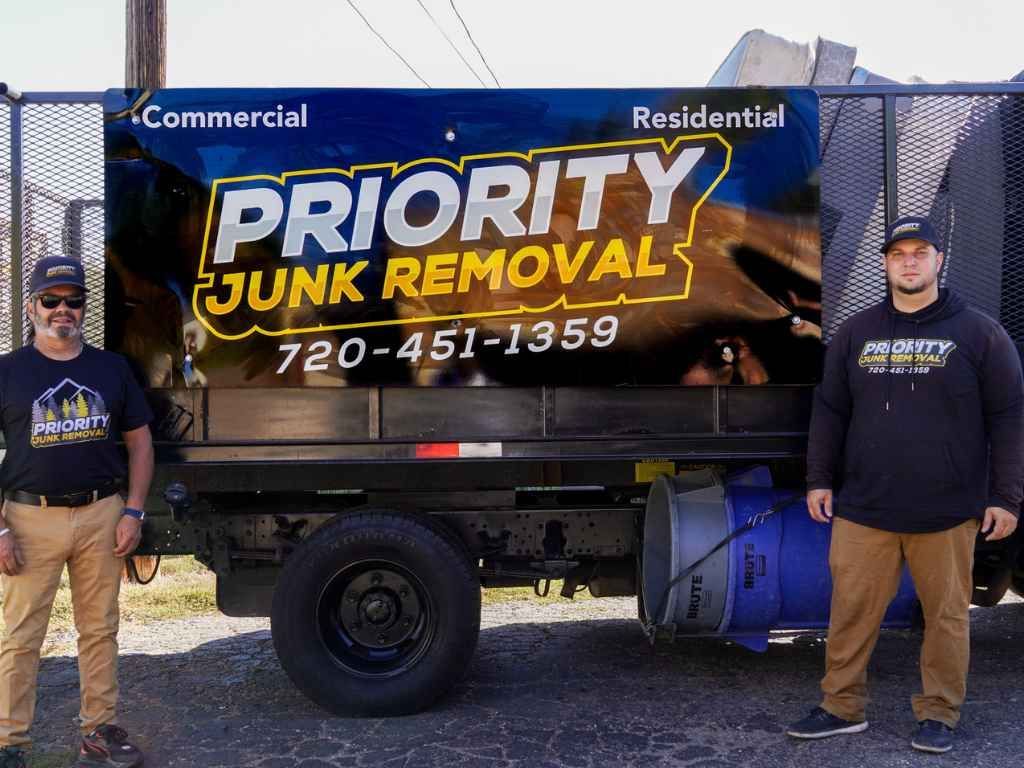
Conclusion
Bathroom demolition is more than just swinging a hammer — it’s about careful planning, professional execution, and responsible cleanup. Whether you’re gutting the whole space or just making targeted changes, the right team makes all the difference. Trust Priority Junk Removal to handle the heavy lifting, debris removal, and disposal with care and precision. For reliable service, contact Priority Junk Removal at 6091 South Spotswood Street, Littleton, Colorado 80120, United States. You can also reach us at 720-451-1359 or via email at priorityjunkremoval@gmail.com.